Upgrading from Nitro 1
Nitro 2 is built on Docker (opens new window) instead of Multipass and nearly everything has changed under the hood.
To upgrade, you’ll need to do the following:
- Back up your databases and Uninstall Nitro 1 (opens new window).
- Install Nitro 2.
- Re-add each site and import its related database.
# Back Up Databases and Uninstall Nitro 1
- Back up databases from the Nitro virtual machine by running
nitro db backup. - Run
nitro infoand note your Nitro machine’s IP address. - Once your backups have finished, destroy your Nitro machine with
nitro destroy --skip-backup. - Edit your hosts file (
/etc/hostson macOS/Linux andC:\Windows\system32\drivers\etc\hostson Windows) and remove any lines pointing Nitro sites or the IP address from step 1 (e.g.192.168.7.64 nitro.test). - Optionally uninstall Multipass. (Instructions on the macOS Installation page (opens new window).)
# Install Nitro 2
Follow the installation instructions for your operating system.
# Allowing Nitro to Run
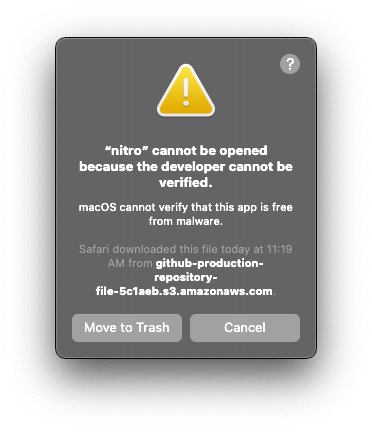
When running the nitro binary for the first time on macOS, you’ll have to allow the file to run under System Preferences → Security and Privacy → General tab.

You should be able to run nitro --version and confirm you’re running Nitro 2:
$ nitro --version
nitro version 2.0.0-alpha
# Re-Add Sites and Import Databases
Navigate to each project folder and use nitro add to set up a Nitro site for it. (Nitro is contextually-aware now so where you run it from matters!) See the Project Setup page for an example.
If you’d rather mount your entire dev folder, you can edit your nitro.yaml file after it’s been initialized. There’s an example of this on the Project Setup page as well.
Once each site is established, run nitro db import YOUR_FILENAME and follow the prompts to import each database backup you created before installing Nitro 2.
Run nitro context to get the hostname for the appropriate database engine and update your project’s .env file to use it.
Nitro databases still use nitro for the default username and password, but the server will be a hostname instead of an IP address.
# Further Reading
See Project Setup for an overview of common usage and a look at what’s new.